
Benefits of a Raised Garden Bed
Let’s start by talking about the benefits of raised bed gardening. There are many different reasons why a raised garden bed is a good choice for experienced and new gardeners alike. You can grow a variety of plants in raised beds, but for your vegetable garden, growing in a raised bed is a great way to increase the productivity of your food crops.
SOIL QUALITY
When you grow in-ground beds, it can be difficult to get started, particularly if you are converting lawn space into a garden bed. Unless you are blessed with the perfect crumbly loam, you may find that your poor soil lacks nutrients and the PH levels need adjusting.
While all of this is amendable, it will take time to build up the organic matter and grow productive crops. This can be frustrating for those who seek the instant gratification of a quick turnaround. Growing in a raised bed means you can start out with the best soil possible, which will increase your productivity from the outset.
Growing in-ground has further downsides — pests such as slugs and snails will find your crops far more easily, and you will notice weeds creeping in a lot faster too.
DRAINAGE
The other important difference between in-ground gardening versus raised beds is drainage. In a raised bed, drainage of excess water (after heavy rains, for example) is much better than in an in-ground bed.
The key to growing healthy crops is light, air and water. Plants require oxygen around the roots to grow — with poor drainage plants will sit in a pool of water which will prevent them from taking up the necessary nutrients that they require to thrive.
With a raised bed, you can ensure that the soil stays moist but know that the water is draining away sufficiently, which will increase productivity and ensure your greens flourish.
PLANT ROOT DEPTH
Because of the garden’s elevated level, the roots of the plants have more space to grow vertically.
When you grow in ground, the plant roots tend to move horizontally across the soil surface rather than burying deep down. As a result, you have to space your plants further apart to ensure they are not competing for nutrients.
When you grow a raised bed garden, you can actually position your plants closer together with the knowledge the roots can dig down rather than across. Therefore, growing in a raised bed means you can be more productive with less space.

Choose a sunny spot for your raised garden bed — most vegetable and flowers require at least 6-8 hours of direct sunlight a day.
Location
The first thing to consider before building your raised garden bed is the location. It is important to make note of how the sun changes throughout each growing season, and to ensure there are no trees or buildings that may block the light during the winter when the sun hangs lower in the sky.
FIND A SUNNY SPOT
Most vegetable and flowers require at least 6-8 hours of direct sunlight a day, therefore a full sun, north-facing area of your garden is an ideal spot. If there is no available space or your property is low on light, then growing salad greens and leafy green crops could be an option as they require as little as four hours of sunlight a day.
ACCESS TO WATER
There are other aspects of location to consider, like ensuring the proposed area is close to a water source and convenient to your kitchen. Trust me when I say that if the raised bed is visible and easy to get to, you are more likely to tend to and pick from it regularly. And if your raised beds are near a garden tap, you can easily set up easy irrigation systems to keep your crops hydrated in the hotter months.
AESTHETIC
Finally, when choosing a location it is important to consider the final aesthetic and how it fits in with the landscape of your property. Lining the raised bed up with a structure such as a fence line, driveway or deck will help it to blend seamlessly into your garden design and the surroundings, and feel like an extension of your home.
Layout and Design
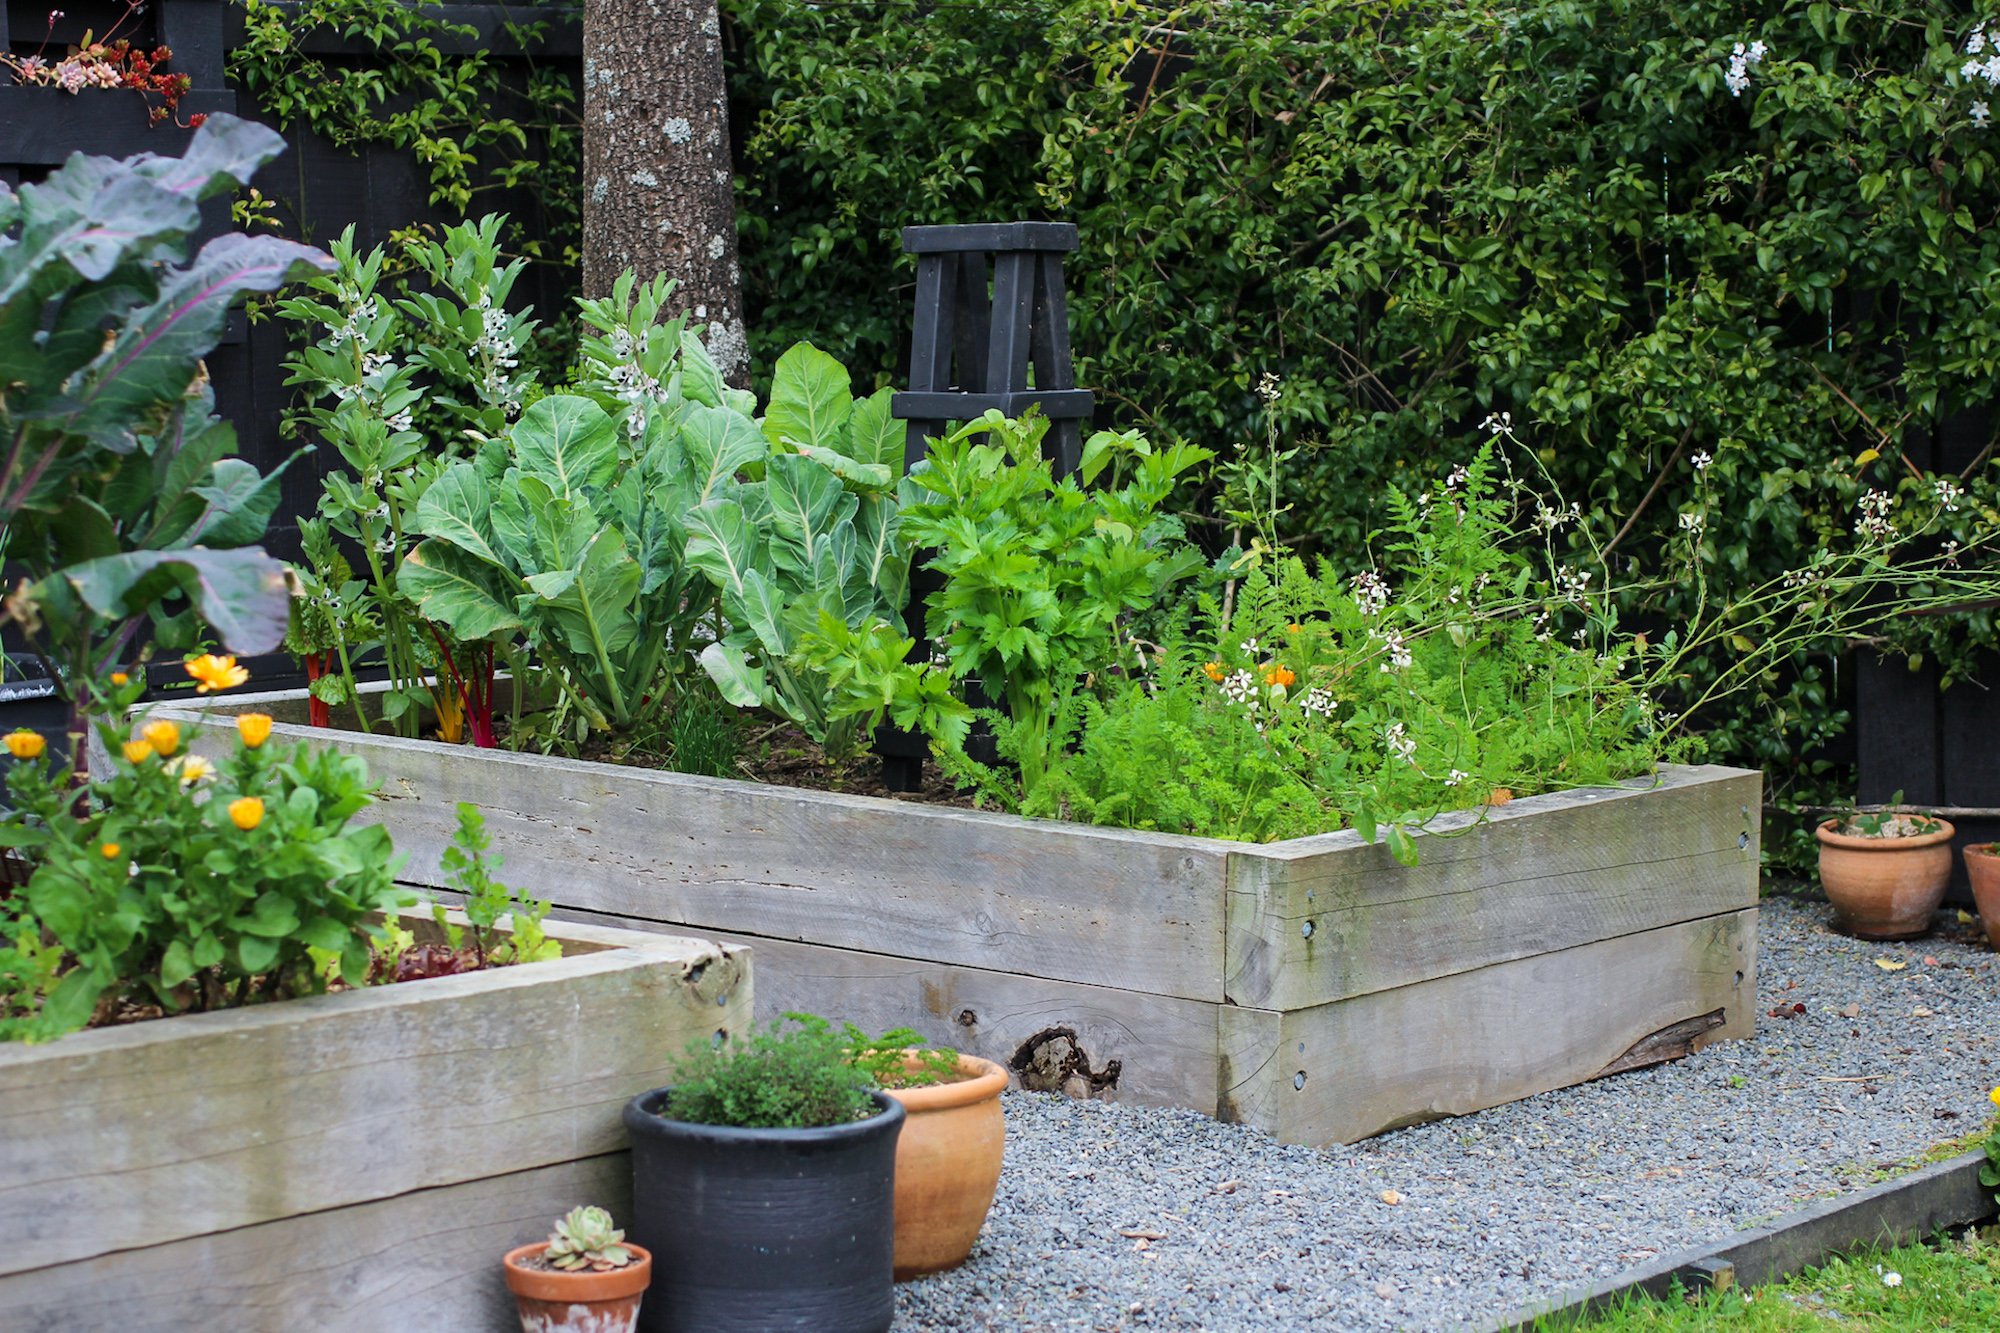
The layout and design is an important factor to consider when building the best raised garden bed for you. There are several different ways to layout your raised beds; including a freestanding bed like the classic potager, twin beds, or border garden. The key when selecting the layout is thinking about the raised bed as an integral feature of your landscape – a focal point and piece of hardscaping that should look beautiful and considered throughout all seasons.
SIZE
The layout and design may be limited to the space in a small garden, but if this is not a factor, then having a goal in mind may help you to finalise a plan. If the intention is to be completely self-sufficient, you will need a large amount of growing space. If you are just looking to decrease your weekly supermarket spend, then an area of around 4 square metres (43 square feet) should be adequate for a family of four.
VERTICAL GROWING
Growing vertically is also a great use of space and makes the growing area much more visually interesting. Investing in a couple of good quality structures, such as a trellis, arch or obelisk is worthwhile and is also necessary if you would like to grow climbing crops such as peas, beans, tomatoes or cucumbers. Alternatively, a simple teepee or A-frame support can be fashioned easily using affordable materials such as bamboo stakes or even foraged tree prunings.

Growing vertically is also a great use of space and makes the growing area much more visually interesting.
Materials for a Raised Garden Bed
Now that you have decided on the layout and design for your raised garden bed, it is time to choose your raised bed materials. There are a range of different types you could use — the most popular options tend to be wood, stone or steel.
In terms of longevity, steel is the best. However metal panels can be expensive, heavy and difficult to transport. Using stone, concrete blocks or bricks may be your preference if it’s a particular aesthetic you are trying to achieve. But like steel, it can be more costly and difficult to install if you are not a professional. Our personal favourite option is using natural and rot-resistant woods.
WOOD FOR RAISED BEDS
Timber raised beds are a popular choice for many reasons, they are cost-effective and easy to do-it-yourself. If you select a landscaping sleeper such as macrocarpa or redwood they can also have a long lifespan. They are also incredibly versatile, can be assembled into a range of different shapes or patterns and painted to compliment the exterior of your home if desired.
An untreated hardwood is a great choice for landscaping projects as it is naturally rot resistant and less likely to be damaged by insects. And because it isn’t chemically treated it is safe to grow edible crops.
When it comes to using sleepers for your raised bed, the key to increasing the lifespan comes down to the thickness of the wood. It is recommended to use at least 50mm thick timber if you want your raised bed to exceed the ten-year mark. However the thicker, the better.
For the purpose of this article, we have selected examples of raised beds made from both macrocarpa and redwood sleepers as the material of choice.

Dimensions
LENGTH
Working out the dimensions of your raised bed should be simple. First, the length of your raised garden bed may be determined by the available space. If this is not a consideration then using the standard length of timber, be it 1.8m or 2.1m, will be the easiest and cheapest option (to avoid having to cut the wood).
WIDTH
Second, you must consider the width of a raised bed. Reaching the plants in the middle of the bed becomes a bit of a stretch if you go over the one-metre mark, unless you have access from both sides and therefore 1.5 – 1.8m is a good width to go by.
HEIGHT
Lastly, determining the height of the raised bed will be based on a few factors. A macrocarpa or redwood sleeper is 200mm high, so two stacked on top of each other will provide a raised bed of 400mm deep. This height will have improved drainage compared to a lower bed. This height also allows a greater ease for the gardener who will spend less time on their hands and knees weeding.
If your material choice differs, make sure the raised beds are high enough to fit the entire root ball of different plants. While lettuce and salad greens have shallow roots, brassicas such as cauliflower or kale have a large root system of up to 45cm.
To get the most out of your raised bed in terms of drainage and maximum growing capacity, a raised bed of at least 400mm is recommended.


Before, during & after — Elly’s raised garden beds from start to finish
Instructions for How to Build a Raised Garden Bed
The gardening and building materials you will need to build a raised bed are:
-
Spade
-
Macrocarpa/Redwood Sleepers (untreated wood)
-
Treated Timber or Metal corner pegs
-
Coach screws
-
Galvanised Washers
-
Galvanised screws
-
Drill
-
Cardboard or Newspaper
-
Vegetable mix (or potting mix and compost)
-
Weed mat (optional)


Step-by-Step Guide: How to Build a Raised Garden Bed
-
Decide on a location and size of your raised bed.
-
Using a spade, deturf the area of grass where the raised bed will be located. This involves skimming the top layer of the grass to reveal the bare soil underneath. (Note: Set grass layer aside for a later step.)
-
Cut your lengths of timber, if applicable.
-
Mark the screw position. There will be two screws connecting each join, measuring 50 mm from both the top and the bottom.
-
Pre-drill holes.
-
Screw the bottom frame together using coach screws.
-
Check the wooden frame is square. To do this, you measure the length diagonally both ways and check they’re equal.
-
Once square, insert corner pegs. These can be hammered into the ground to prevent the raised garden bed from moving. The corner posts should sit around 50 mm below the top of the raised bed.
-
Screw pegs into the bottom frame.
-
Repeat steps 6-9 for the top of the frame.
-
Lay cardboard or newspaper at the bottom of your bed prior to filling with organic material. Vegetable soil mix is best, which is a combination of potting soil and compost.
Prior to adding soil, you can place the deturfed grass back into your bed over the top of the cardboard/newspaper. This will attract worms into the bed and promote nutrient rich soil. Alternatively, you can follow advice on the hugelkultur method as described below.
Note: Raised beds positioned on a concrete surface may experience reduced drainage when compared to a raised bed that is located over grass. As a result, you may choose to line the frame with a woven plastic membrane with drainage holes, such as weed mat. This will help to protect the sleepers from increased moisture. Weed mat should not be used on a raised bed positioned over grass.

When your raised garden bed is on a concrete surface you can line the frame with a woven plastic membrane with drainage holes, such as weed mat. You do not need to do this when your raised bed is on top of organic matter (soil or lawn).

To get the most out of your raised bed in terms of drainage and maximum growing capacity, a raised bed of at least 400mm is recommended.
How to Fill a Raised Garden Bed
Now you’ve built your raised bed, it’s time to fill it. This is an integral part of the process and one that shouldn’t be overlooked. To ensure your raised bed has great drainage, it is recommended to fill it with a vegetable mix, which is a combination of potting soil and compost.
To work out how much soil you will need in cubic metres multiply ‘length x width x height’ of your raised bed.
Depending on the size of your raised bed, you may notice that you will require a vast amount of soil to top it up. For some, the cost involved can be too much of an expense, or it may just be logistically difficult. If that’s you and you’re feeling concerned, there is an alternative…


Hugelkultur Raised Beds
Hugelkultur is a process of layering materials on top of one another in order to build a garden bed. Over time, the materials will break down and form a nutrient rich soil.
This process can be applied to your raised bed by placing logs, branches and sticks at the bottom of your bed along with other carbon such as dried leaves or wood chips. Next you layer green waste, which could include grass clippings, bokashi or fresh vegetable scraps and worm castings. Finally, you finish off with a layer of soil.
There are many benefits to using the hugelkutur method when filling your raised bed. Not only are you using materials that you can source for free, like tree prunings or food waste, you are also creating an environment which will help to grow bountiful crops from the nutrient dense soil you will create.
Over time, the wood at the bottom will decompose and heat up your beds. Also, as the wood rots, it will act as a sponge absorbing water which results in better water retention and less watering frequency.
Whether you choose to do the hulgelkutur method when filling your beds or simply use a soil blend, it is important to add a layer of green waste to the bottom of the bed first. This will help to attract the worms into your bed and feed the soil.

What to Plant in Raised Garden Beds
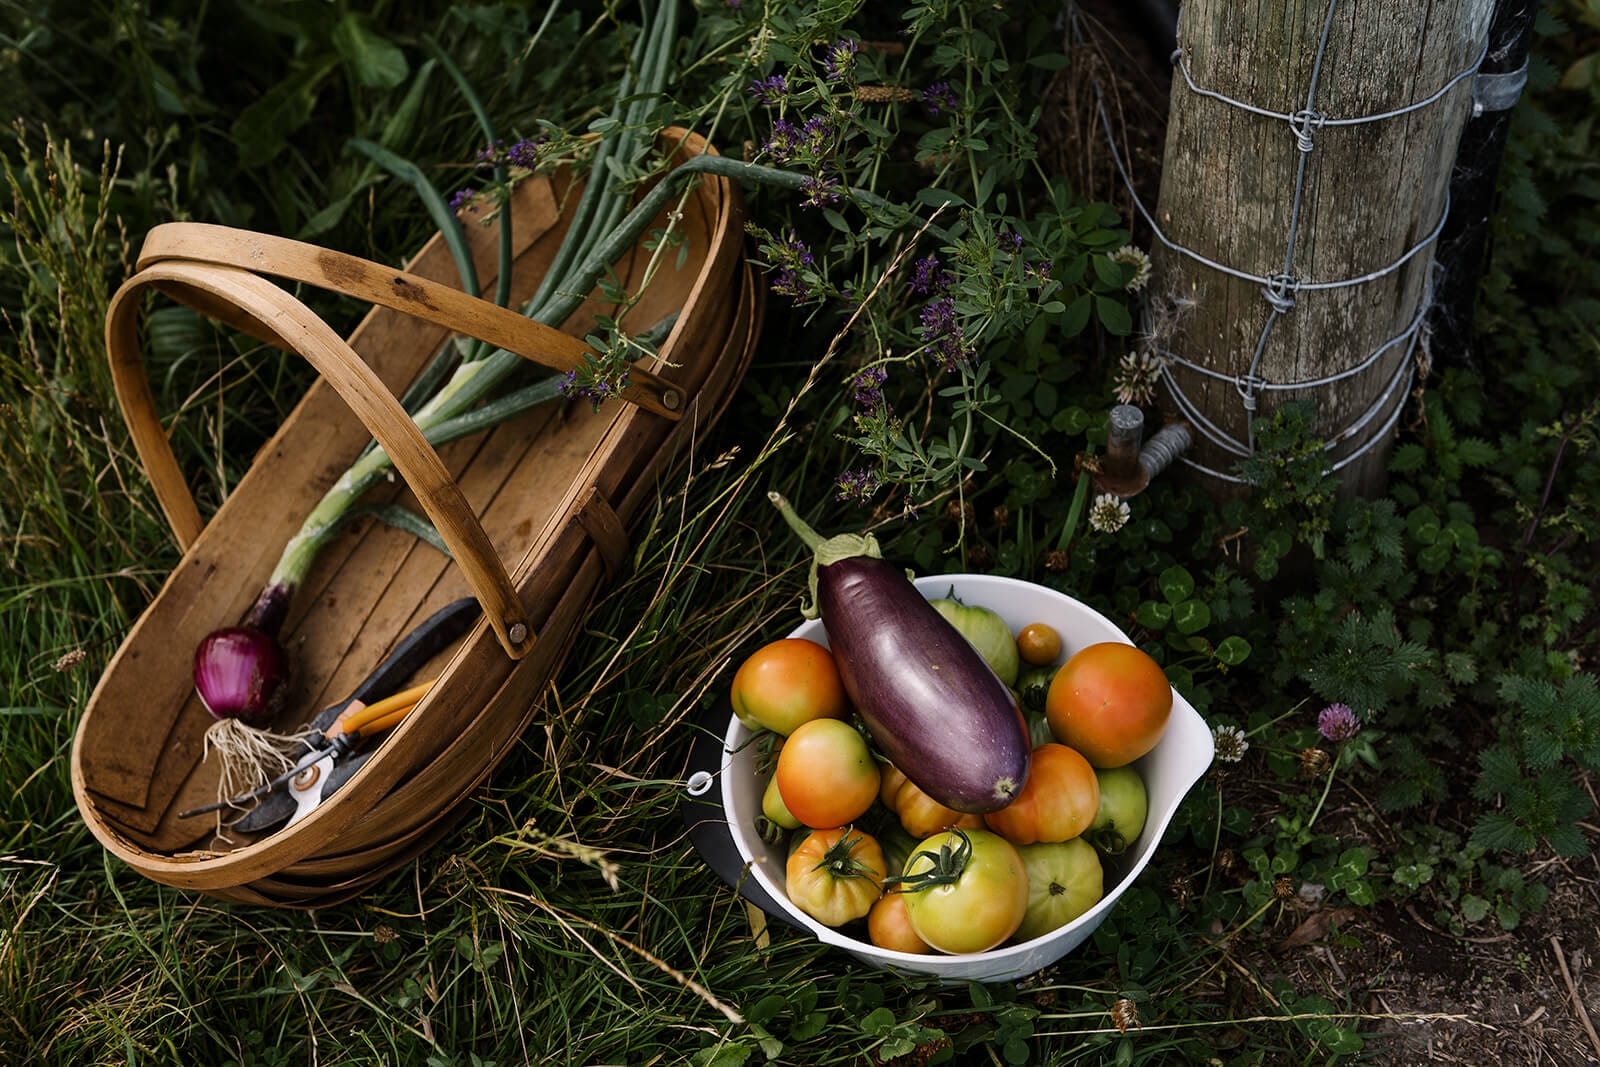
Finally it’s time to plant! You can plant any number of plants in your raised beds. Some of our favourites are flowering annuals, a combination of soft flowering perennials and of course, vegetables.
IN YOUR RAISED VEGETABLE GARDEN
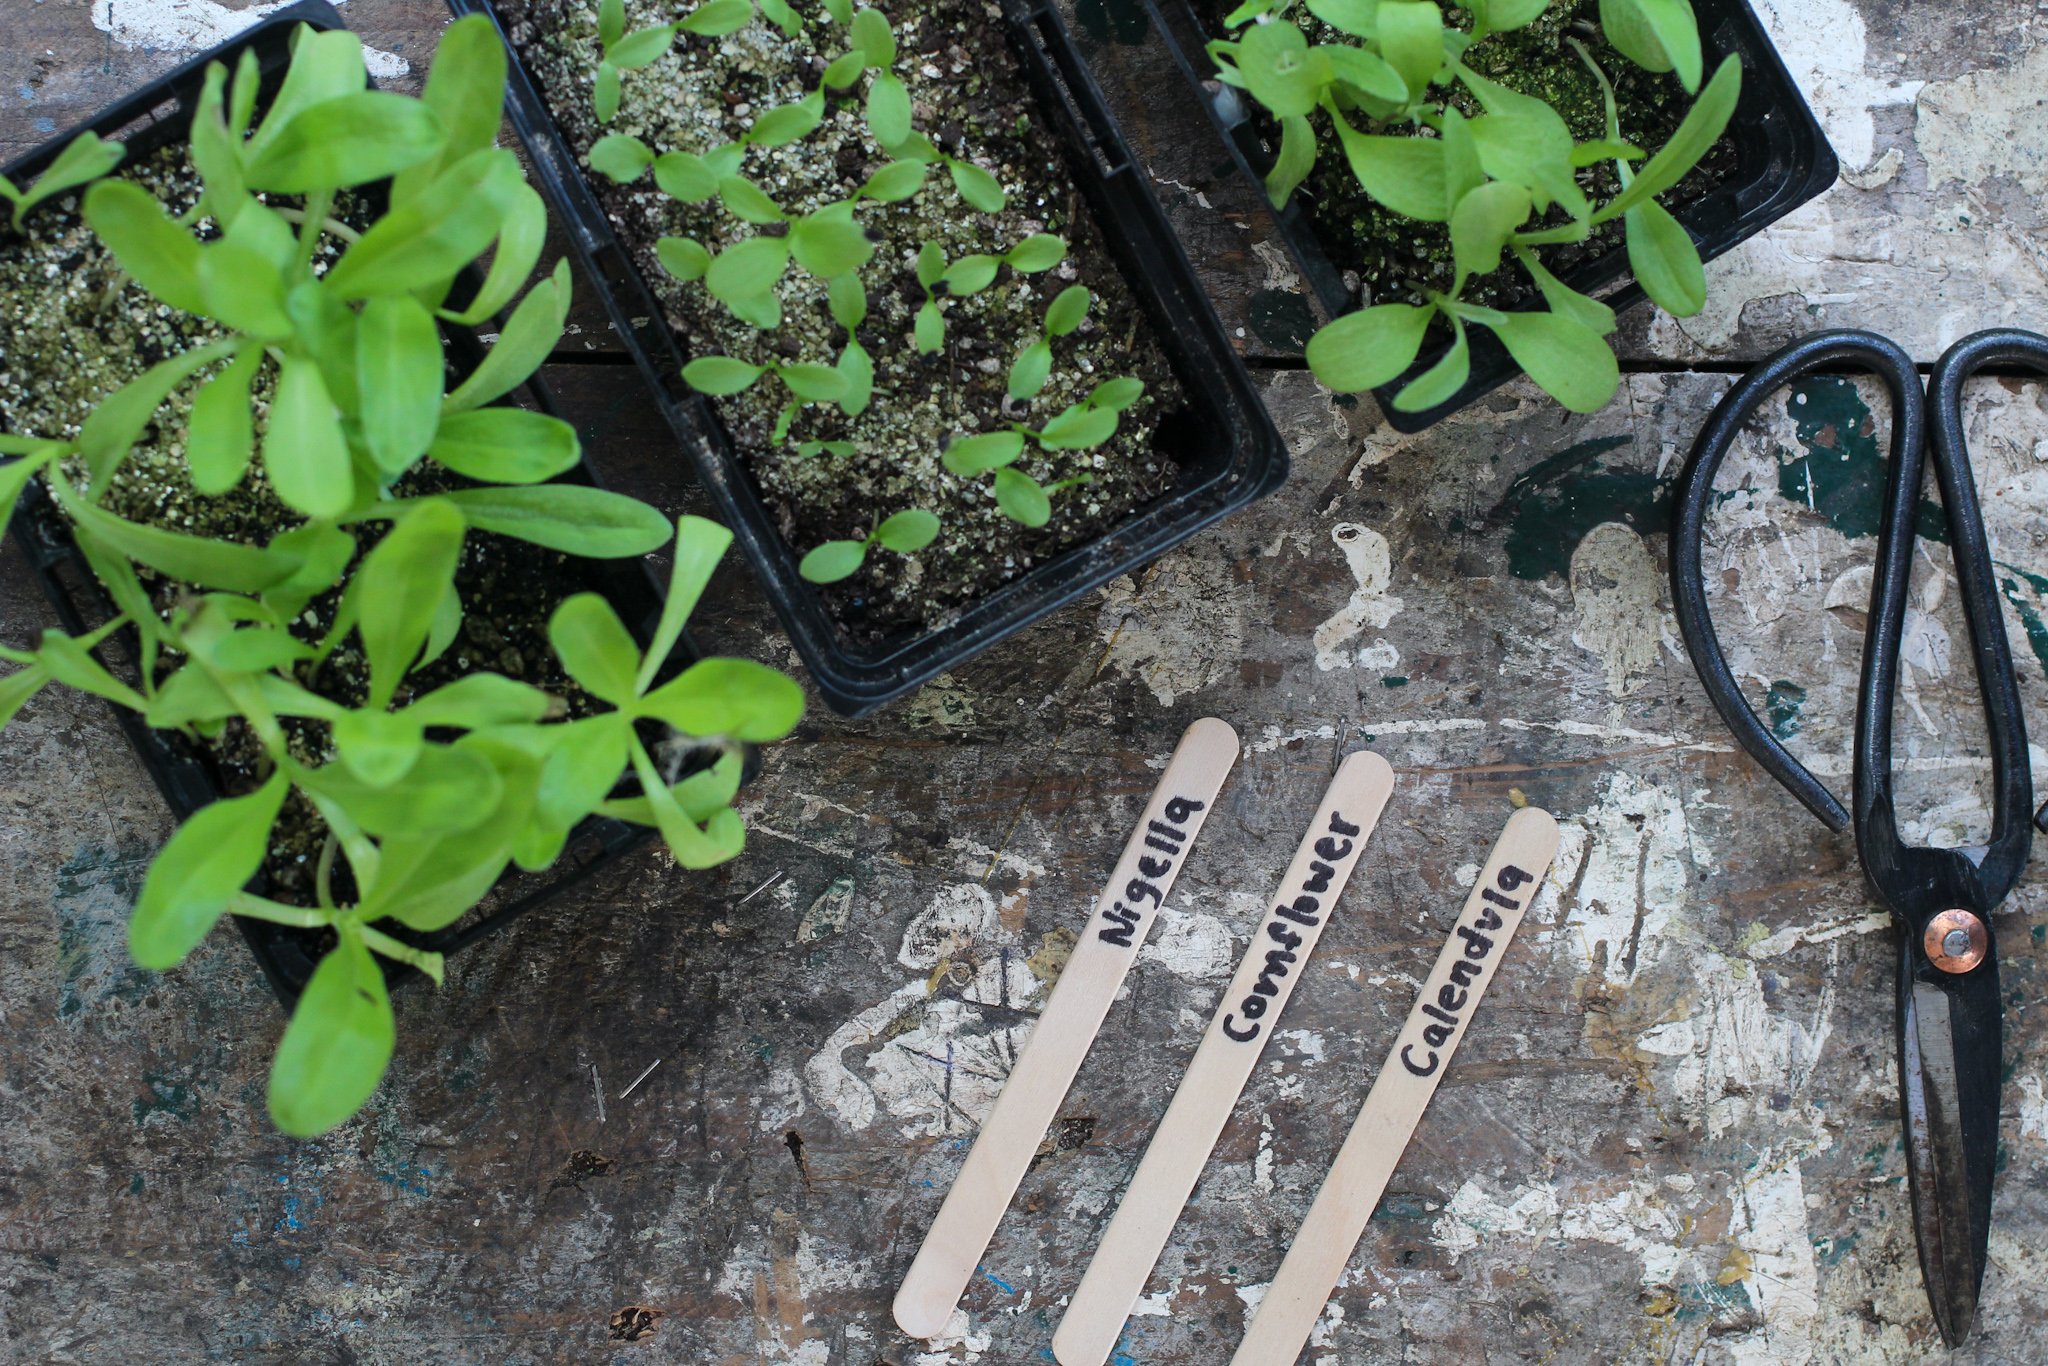
When selecting plants for your raised vegetable bed, it is a good idea to choose a combination of herbs, vegetable and pollinator-attracting flowers. Herbs and flowers can be placed around the edges of the bed, while reserving the prime middle position for vegetables. This type of intensive planting is possible in such a small space due to the plant’s ability to bury its roots deep down into the soil.
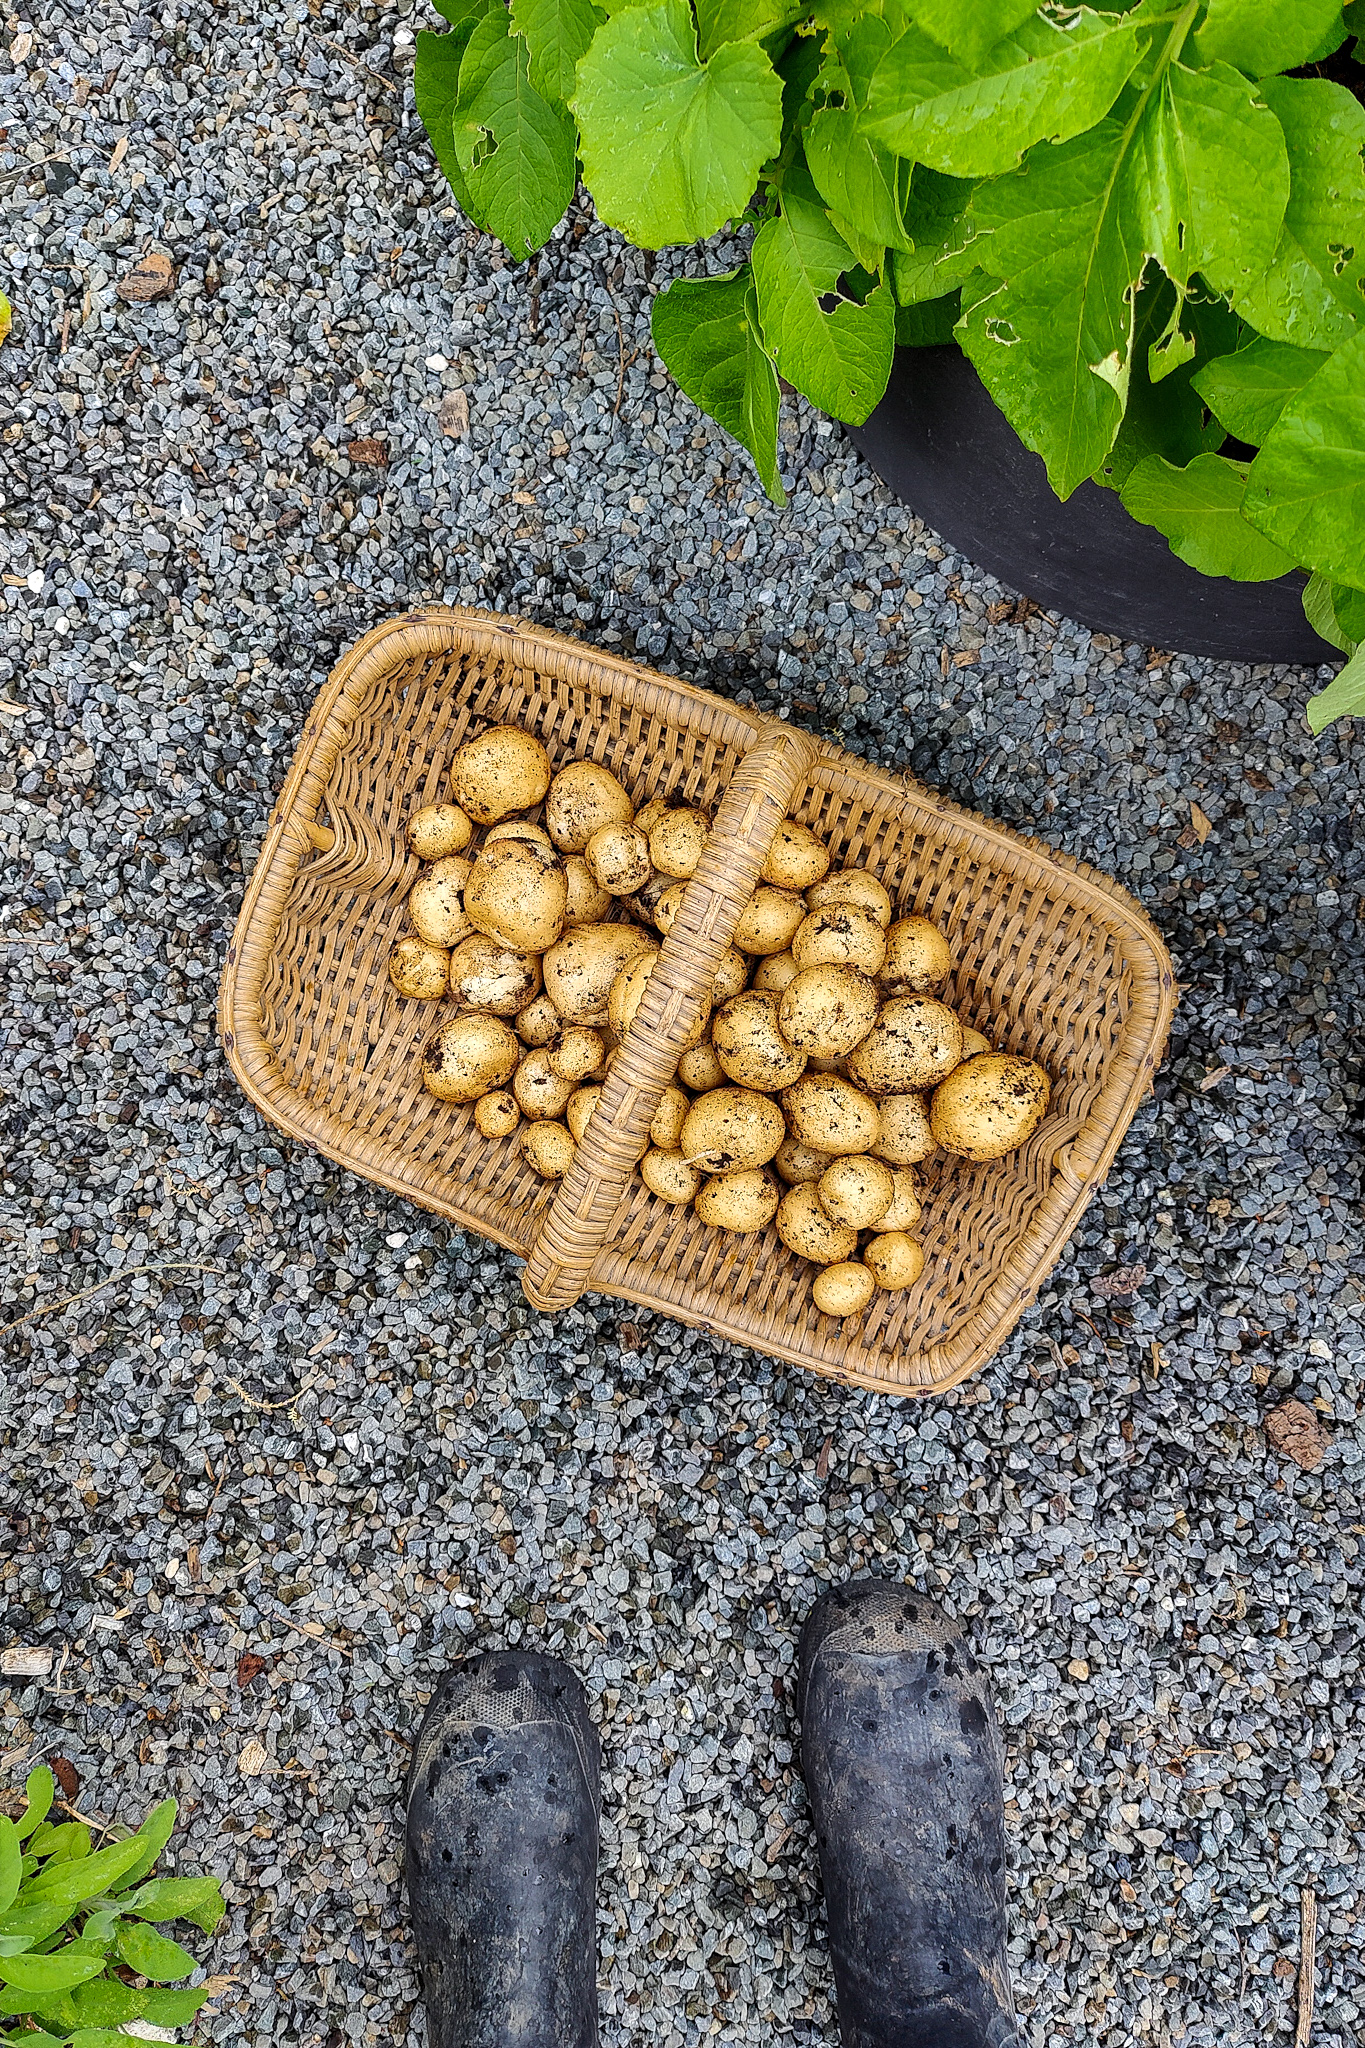
Leafy greens and root vegetables are well suited to raised bed gardens. It is advisable to avoid larger fruiting plants, such as the gourd family, which have a sprawling habit and do not appreciate being limited to a container. Courgettes however may be acceptable if planted at the edge and allowed to hang over the side. Likewise, training cucumbers to climb up a trellis makes them an exception to this rule.
If you are a beginner, then starting with leafy green crops such as spinach, lettuce or kale will give you a quick reward. You can plant them closer together and harvest more frequently for a continual supply of salad greens.
For first time gardeners, you can’t go past the growing the jewels of the garden — Tomatoes are an incredibly easy crop to grow, beautiful spiralling up an arch, and nothing beats the taste of homegrown.

Herbs and flowers can be placed around the edges of a raised garden bed, while reserving the prime middle position for vegetables.
An alternative to building your own wooden raised bed
There is good news for those of you who don’t feel that they have much time of their hands and are looking for an easy way to use their outdoor space for raised bed gardening.
Look out for garden bed kits online and in hardware stores. Go for an easy assembly option and look for best seller recommendations from buyers. They likely won’t last as long as a custom built bed, and often don’t look as good within a garden design – but they serve a purpose for some. You may find some good options here.
RELATED POSTS: